
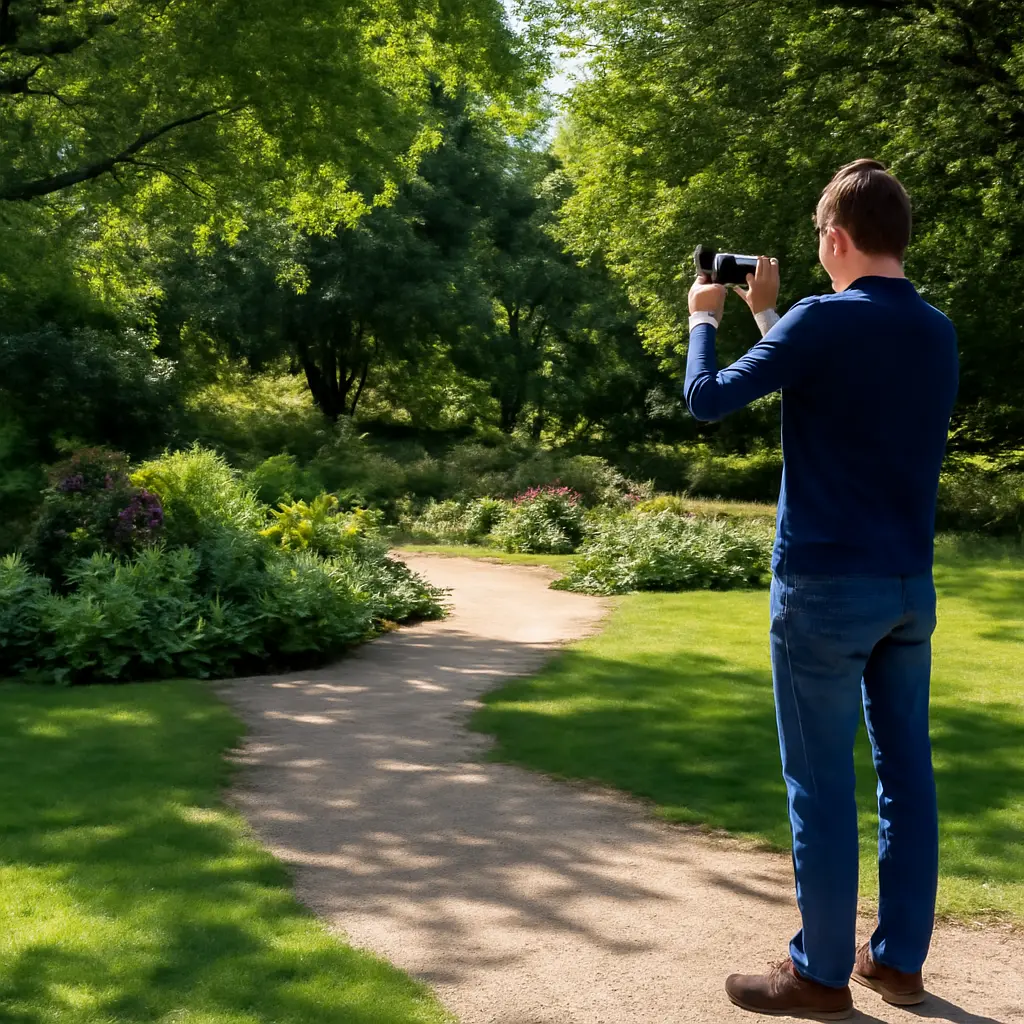
Phone-camera highlights are the brightest parts of a photo, while shadows are its darkest parts. In most high-contrast scenes, protect highlights first: once a bright area is clipped to pure white, its texture and color may be unrecoverable, whereas some shadow detail can often be brought back by editing. This is a practical rule, not an absolute one—night scenes and intentionally dark images may call for preserving shadows instead. Understanding exposure, dynamic range, HDR, and RAW capture helps you decide what to protect in the moment.
Phone-camera exposure determines which highlights and shadows survive
Exposure is the amount of light recorded by a camera sensor. In digital photography, a highlight is a bright image region and a shadow is a dark one. When sensor values reach their maximum, the affected pixels clip: differences in the original scene are recorded as the same maximum value, so detail is lost. When values fall close to the sensor’s lower limit, shadow details can become difficult to distinguish and may be obscured by noise.
The International Organization for Standardization (ISO) standardizes camera exposure-related measurements, but a phone’s practical image latitude also depends on its sensor, lens, image processing, and file format. The American Society of Media Photographers describes dynamic range as the span between the darkest and brightest values a system can record while retaining useful detail. A scene that exceeds the camera’s available range cannot be captured with full detail at both ends in a single exposure.
Common exposure situations include backlit portraits, bright skies over dark streets, and scenes with direct sunlight and deep shade. These are all examples of high dynamic range, where choosing what to preserve matters more than simply making the entire preview look bright.
Clipped highlights are usually the first detail to protect
Highlight clipping occurs when bright areas exceed the sensor or processed image’s recording limit. A cloud may turn into a blank white patch, or a sunlit face may lose skin texture. If the original values were clipped during capture, lowering brightness afterward generally cannot restore the missing distinctions.
This is why photographers often use “expose to protect the highlights” as a practical guide. It does not mean making every photo dark; it means watching bright areas and avoiding overexposure when those areas contain important detail. Phone-camera histograms and highlight warnings, when available, can help identify clipping. A histogram pushed hard against its right edge can indicate that some bright tones may be lost, though the display is only a guide and does not show exactly where clipping occurs in the image.
Shadow detail can often be lifted, but noise limits recovery
Shadow recovery means brightening dark image regions during editing. It can reveal detail that was recorded but is hard to see in the original image. However, lifting shadows also makes sensor noise and processing artifacts more visible. In low light, a phone may combine multiple frames or apply strong noise reduction, which can soften fine details.
Shadow recovery is therefore possible, not guaranteed. Deep black areas with no captured signal cannot be restored reliably, just as clipped whites cannot be reconstructed from a single ordinary capture. The best result depends on how much information the phone recorded and how aggressively the image is edited.
Protecting highlights first works best for high-contrast phone photos
For a typical daylight scene, protecting highlights is usually the safer starting point because bright clipping is conspicuous and often irreversible, while moderate shadow lifting may remain possible. The advice is especially useful when the bright areas carry meaning, such as clouds, a white dress, reflective water, or facial detail in direct sun.
The rule changes when shadows are the subject or when the phone’s shadow areas are already near the noise floor. A dim concert, a candlelit room, or a silhouette may depend on dark tones for atmosphere. In those cases, preserving the intended darkness—or exposing for a shadow detail that matters—can be more important than retaining every highlight.
Backlit portraits and bright skies
In a portrait against a bright window or sunset, the camera has to balance a luminous background with a comparatively dark face. Tap the subject to set exposure, then check whether the sky or window becomes featureless. If it does, reduce exposure slightly or use HDR if the phone offers it. A small amount of darkening can preserve bright-area texture, after which the face may be brightened selectively during editing.
HDR, or high dynamic range, combines or processes image information to represent a broader range of brightness than a single straightforward exposure may show. Google’s computational photography documentation describes HDR+ as combining multiple exposures to improve image quality and manage challenging lighting. Results vary by device and mode; moving subjects can produce artifacts, and the phone’s preview may not perfectly predict the final processing.
Night scenes, silhouettes, and intentional darkness
At night, protecting every bright sign or lamp may leave the rest of the photo excessively dark. Decide which elements matter: if a lit sign is the subject, protect its lettering; if the scene’s mood depends on a person’s outline, preserve the silhouette rather than trying to brighten it into a normal exposure. Bright lamps themselves may clip even in a carefully exposed night photo because they are much brighter than their surroundings.
For important shadow detail, stabilize the phone and use Night mode or a longer exposure when appropriate. Night modes commonly combine multiple frames, so movement can blur the subject or create ghosting. A tripod or steady support can reduce camera shake, but it cannot freeze a moving person or vehicle.
Phone HDR and RAW capture expand editing choices
Phone processing and file format affect how much highlight and shadow information remains available. Standard JPEG and HEIF photos are processed and compressed for convenient viewing, while RAW files retain less-processed sensor data for more flexible editing. RAW does not eliminate the sensor’s physical limits, but it can provide greater latitude for adjusting exposure and color when the capture has not clipped the important information.
HDR processing balances bright and dark regions
Many phones use multi-frame computational photography to combine exposures or selectively adjust tonal regions. This can make a backlit scene look more balanced without requiring manual editing. The trade-off is that automated processing may flatten contrast, brighten shadows more than intended, or render moving subjects inconsistently. Review the finished image rather than assuming the HDR label guarantees a natural result.
The International Telecommunication Union’s HDR television recommendations, including ITU-R BT.2100, concern high-dynamic-range image and video systems. They provide useful technical context for HDR as a way of representing a wider range of brightness, but they do not mean every phone photograph uses the same capture or display method.
RAW files offer more room, not unlimited recovery
RAW capture stores sensor data before much of the phone’s final image rendering. In a RAW editor, photographers can often adjust exposure, highlights, shadows, and white balance more flexibly than in a finished compressed image. Adobe’s digital photography guidance notes that RAW files preserve more image data for post-processing than JPEG files, though the exact benefits depend on the camera and workflow.
RAW files are larger and may need editing before they look finished. They also cannot recover detail that the sensor never recorded. If the scene is beyond the phone’s dynamic range, bracketing or HDR capture may help, but moving subjects can make multi-frame results less reliable.
A simple phone-camera workflow protects important detail
Use this quick process when the scene contains both very bright and very dark areas:
- Identify the detail that matters most, such as a face, cloud texture, sign, or silhouette.
- Tap the subject or important tonal area to set focus and exposure, then adjust the exposure slider if needed.
- Check bright regions for blank white patches. If they matter, lower exposure slightly before taking the picture.
- Use HDR or Night mode when appropriate, keeping in mind that movement can cause artifacts.
- Review the captured image and make modest highlight or shadow adjustments. Avoid lifting dark regions so far that noise becomes distracting.
- Use RAW or exposure bracketing for difficult scenes when your phone supports them and you are willing to edit later.
A useful visual aid is a two-column exposure chart: one column shows clipped highlights that have lost texture, while the other shows shadows lifted until noise becomes visible. It illustrates why the goal is not to preserve every tone at any cost, but to retain the detail that supports the photograph.
Conclusion: protect highlights first, then judge the scene
Highlights are usually the first priority in high-contrast phone photography because clipping can permanently erase bright-area detail. Shadows can often be lifted, but doing so may reveal noise or artifacts, especially in low light. HDR processing and RAW capture can expand editing options, yet neither can overcome every limit of the sensor or restore information that was never recorded.
Before your next shot, decide which bright and dark details matter to the image, check exposure, and use HDR or RAW when the scene warrants it. For further learning, consult your phone maker’s camera guide and experiment with the same scene at several exposure levels so you can see how your device handles highlights and shadows.
Sources: International Organization for Standardization, ISO 12232:2019 Photography — Digital still cameras — Determination of exposure index, ISO speed ratings, standard output sensitivity, and recommended exposure index, https://www.iso.org/standard/73758.html; American Society of Media Photographers, Dynamic Range, https://www.asmp.org/strictly-business-blog/dynamic-range/; Google Research, HDR+ with Bracketing on Pixel Phones, https://research.google/blog/hdr-with-bracketing-on-pixel-phones/; International Telecommunication Union, Recommendation ITU-R BT.2100, https://www.itu.int/rec/R-REC-BT.2100; Adobe, Understanding Camera Raw, https://helpx.adobe.com/camera-raw/using/introduction-camera-raw.html.


