
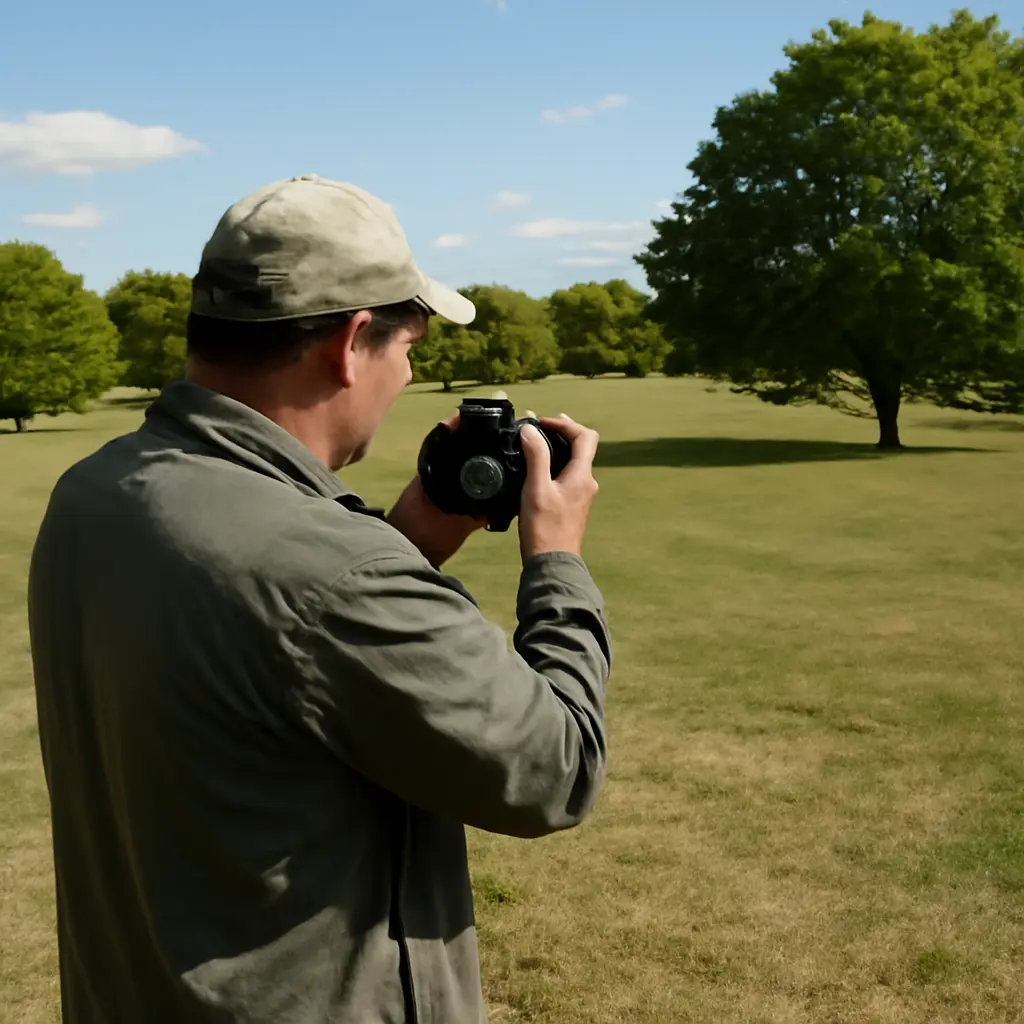
Camera habits are the repeatable choices photographers make before, during, and after a shot—such as checking light, setting focus, and reviewing composition. These habits separate decent photos from stronger ones because they make results more intentional and consistent, not because they require expensive equipment. Research from the American Psychological Association suggests that people can make rapid judgments from visual information, while camera makers such as Canon emphasize exposure, focus, and composition as core controls. The most useful habits are to observe the light, stabilize the camera, choose a deliberate focus point, simplify the frame, and review images for specific improvements.
Build Strong Camera Habits by Controlling Exposure
Exposure is the amount of light recorded by the camera sensor. The International Organization for Standardization (ISO) defines photographic exposure through the relationship between aperture, shutter speed, and ISO sensitivity; together, these controls determine image brightness and influence motion rendering, depth of field, and visible noise. Learning to make one intentional exposure decision at a time is more reliable than relying on automatic settings without checking the result.
The three exposure controls are often called the exposure triangle, though they do not all affect brightness in the same way. Aperture changes the depth of field, shutter speed changes how motion appears, and ISO affects the sensor’s amplification and image noise. A practical habit is to decide which visual quality matters most, then adjust the other settings to support it.
Use Aperture to Direct Attention
Aperture is the opening in a lens that admits light. It is expressed as an f-number: a smaller number, such as f/2.8, means a wider opening and typically a shallower depth of field; a larger number, such as f/11, means a narrower opening and typically more of the scene in focus. For a portrait, a wide aperture can separate a subject from a busy background. For a landscape, a narrower aperture can help keep foreground and distance in focus, although the best setting depends on the lens, focus distance, and scene.
Choose Shutter Speed for the Subject’s Movement
Shutter speed is the length of time the sensor records light. A fast shutter can freeze movement; a slower shutter can show motion blur, such as flowing water or moving traffic. The useful setting depends on subject speed, camera movement, and whether stabilization is available. For handheld photographs, test a faster speed when images look blurred, and use a tripod or another stable support when a long exposure is intentional.
Raise ISO Deliberately, Not Automatically
ISO describes the camera’s sensitivity setting or, more precisely in digital photography, the amplification applied to the sensor signal. Higher ISO can make a faster shutter speed or smaller aperture possible in low light, but often increases visible noise and can reduce image quality. A useful habit is to accept some noise when it preserves a sharp, meaningful moment rather than allowing motion blur to ruin it. The best compromise varies by camera and output size.
Improve Camera Habits by Reading Light Before Shooting
Light is the source and direction of the tonal information recorded in a photograph. Before raising the camera, notice its direction, softness, color, and contrast. This short pause helps photographers decide where to place a subject, whether to change position, and whether exposure compensation or fill light may be useful. It also connects technical exposure choices to the feeling the photograph communicates.
Look for Direction and Quality of Light
Hard light comes from a relatively small or direct source and creates sharper shadows; soft light comes from a larger or diffused source and produces gentler transitions. Side lighting can reveal texture and shape, while front lighting tends to reduce visible texture. Backlighting can create silhouettes or glowing edges, but may fool a camera’s meter into underexposing the subject. Move around the subject and compare backgrounds and shadows before settling on a viewpoint.
Protect Highlights and Check the Histogram
A histogram is a graph showing how tones are distributed from dark to bright. It cannot determine whether an exposure is artistically correct, but it can reveal clipped highlights or blocked shadows that may be difficult to recover. After a high-contrast scene, check the histogram and highlight warnings if your camera provides them. For example, when photographing a person against a bright window, decide whether preserving the face or the window detail is the priority rather than assuming both can always be retained in one exposure.
Use White Balance to Manage Color
White balance adjusts how a camera interprets the color of light so that neutral surfaces appear neutral. Daylight, shade, tungsten, and fluorescent sources can produce different color casts. Auto white balance is convenient, but mixed lighting may lead to inconsistent results across a series. When color consistency matters, use a fixed preset or a custom white-balance measurement, and consider recording RAW files to allow more latitude for later adjustment.
Strengthen Camera Habits Through Focus and Stability
Focus determines which parts of a photograph appear sharp, while camera stability helps preserve that sharpness. A technically sharp image does not guarantee a compelling photograph, but missed focus or camera shake can distract from an otherwise strong subject. Combining deliberate focus selection with a stable stance or support is especially useful in low light, portraits, wildlife photography, and close-ups.
Place Focus on the Most Important Detail
Autofocus modes are designed for different kinds of subject movement. Single-shot or one-shot autofocus is generally suited to stationary subjects; continuous autofocus tracks subjects that move. Use a single focus point or a small area when the camera’s automatic selection may choose the wrong detail. In a portrait, focus on the nearer eye when it is visible; in a landscape, select a point that supports the intended depth of field rather than automatically focusing on the nearest object.
Stabilize Your Body and Camera
Camera shake is unintended movement during exposure. Hold the camera with both hands, keep elbows close to the body, and press the shutter smoothly instead of jabbing it. A tripod, monopod, wall, or other firm support can help when shutter speeds are slow. Image stabilization can reduce the effect of hand movement in many situations, but it cannot freeze a moving subject; a faster shutter is still needed for action.
Review Sharpness at Useful Magnification
A quick review habit catches problems while there is still time to reshoot. Zoom in to check the subject’s eyes or another critical detail, then zoom back out to judge the whole frame. Avoid judging an image only by its tiny thumbnail, where softness may be hidden, or by extreme magnification, which can make normal sensor detail look worse than it will in a print or screen-sized display.
Make Camera Habits Visible in Composition
Composition is the arrangement of subjects, shapes, lines, and empty space within the frame. A strong composition helps viewers recognize what matters and understand how elements relate. The “rule of thirds” is a familiar starting point, not a law; the broader habit is to inspect the frame edges, background, and visual balance before pressing the shutter.
Simplify the Frame and Check the Edges
A photograph often becomes clearer when distracting objects are removed, excluded, or repositioned. Check for bright objects, cut-off limbs, poles that seem to grow from a subject’s head, and clutter near the frame edges. Moving a step to one side or changing camera height can separate overlapping shapes without changing equipment.
Use Lines, Layers, and Negative Space
Leading lines guide the viewer through a frame; layers create a sense of depth; negative space gives a subject room to breathe. These are compositional tools rather than guaranteed formulas. A street scene might use converging building lines to draw attention toward a cyclist, while a simple portrait may benefit from empty space in the direction the subject is looking. Try more than one framing and compare how each directs attention.
Choose a Viewpoint Before Changing Lenses
Changing position can alter perspective, foreground size, background overlap, and the relationship between subjects. A wide lens used close to a subject can exaggerate perspective; stepping back and using a longer focal length can make background elements appear larger relative to the subject. Rather than treating zoom as the only way to compose, move safely and thoughtfully to find a viewpoint that supports the image.
Turn Camera Habits into a Repeatable Workflow
A workflow is a repeatable sequence that reduces avoidable mistakes while leaving room for creative decisions. The most helpful routine is brief: identify the subject, assess light, choose a priority setting, focus, check the edges, take the photograph, and review the result. A routine is particularly valuable when conditions change quickly, such as at a family gathering, on a busy street, or during a sports event.
Use a Pre-Shoot Checklist
Before an important shoot, check battery charge, available storage, lens cleanliness, image format, exposure mode, autofocus mode, and stabilization settings. Confirm the date and time if the files will be catalogued later. These small checks reduce preventable failures; they do not replace creative attention, but they protect it.
Take a Test Frame and Adjust One Variable
A test frame provides immediate feedback about exposure, focus, and framing. If the result is not right, identify the main problem and change one setting or position at a time. This makes cause and effect easier to understand than changing several controls at once. For example, if a moving child is blurred, increase shutter speed first; if the background is distracting, change position or aperture based on the scene.
Learn from a Small, Deliberate Review
After a shoot, select a few images and ask specific questions: Is the subject clear? Is the focus where intended? Are highlights preserved? Does the framing support the moment? Reviewing a manageable set with a purpose is more useful than scrolling through hundreds of files without reflection. Keep notes on recurring problems and choose one habit to practice in the next session.
Conclusion: Consistent Camera Habits Create Better Photographs
The habits that most reliably improve photographs are controlling exposure with intent, reading light, focusing on the important detail, stabilizing the camera, refining composition, and reviewing results. These practices connect technical decisions to visual purpose: aperture shapes depth, shutter speed renders motion, light establishes mood, focus directs attention, and framing organizes meaning. Start with one habit—such as checking the background or reviewing the histogram—and practice it until it becomes automatic. For further learning, compare images made with different exposure settings and study your camera manual’s guidance on autofocus, metering, and stabilization.
Sources: International Organization for Standardization, ISO 12232:2019 Photography—Digital still cameras—Determination of exposure index, ISO speed ratings, standard output sensitivity, and recommended exposure index, https://www.iso.org/standard/73758.html; Canon, Exposure: The Exposure Triangle, https://www.canon-europe.com/get-inspired/tips-and-techniques/exposure-triangle/; Canon, Photography Basics: How to Use Autofocus, https://www.canon-europe.com/get-inspired/tips-and-techniques/autofocus/; Cambridge in Colour, Understanding Camera Exposure, https://www.cambridgeincolour.com/tutorials/camera-exposure.htm; Adobe, What Is White Balance in Photography?, https://www.adobe.com/creativecloud/photography/discover/white-balance.html


